
Marcus wiped sweat from his forehead as he stared at another batch of soggy, disappointing fried chicken coming out of the oil. After three failed attempts, his family dinner was turning into a disaster. “Why does restaurant food always taste so much better?” he muttered, watching the limp coating slide off the drumsticks.
His frustration echoes in kitchens across America every day. Home cooks struggle with the same maddening problem: achieving that perfect, restaurant-quality crispy coating that stays crunchy long after it leaves the fryer.
Now, renowned chef Javier Chozas has revealed the game-changing secret that professional kitchens have been using for years. The answer isn’t about fancy equipment or expensive ingredients—it’s about moisture control.
The Science Behind Extra-Crispy Perfection
According to Chef Chozas, the biggest mistake home cooks make is skipping the drying step entirely. When wet food meets hot oil, the moisture creates steam that prevents proper browning and makes coatings soggy from the inside out.
“Most people think the magic happens in the batter recipe, but that’s only half the story,” explains Chozas. “If you don’t remove excess moisture first, even the best batter in the world won’t save you.”
The trick for an extra-crispy batter is drying the food first. This one step makes the difference between amateur and professional results.
— Javier Chozas, Professional Chef
The science is straightforward: dry surfaces allow batter to adhere properly and create the chemical reactions needed for that golden, crunchy exterior. When food is properly dried, the batter forms a protective barrier that seals in juices while developing maximum crispiness.
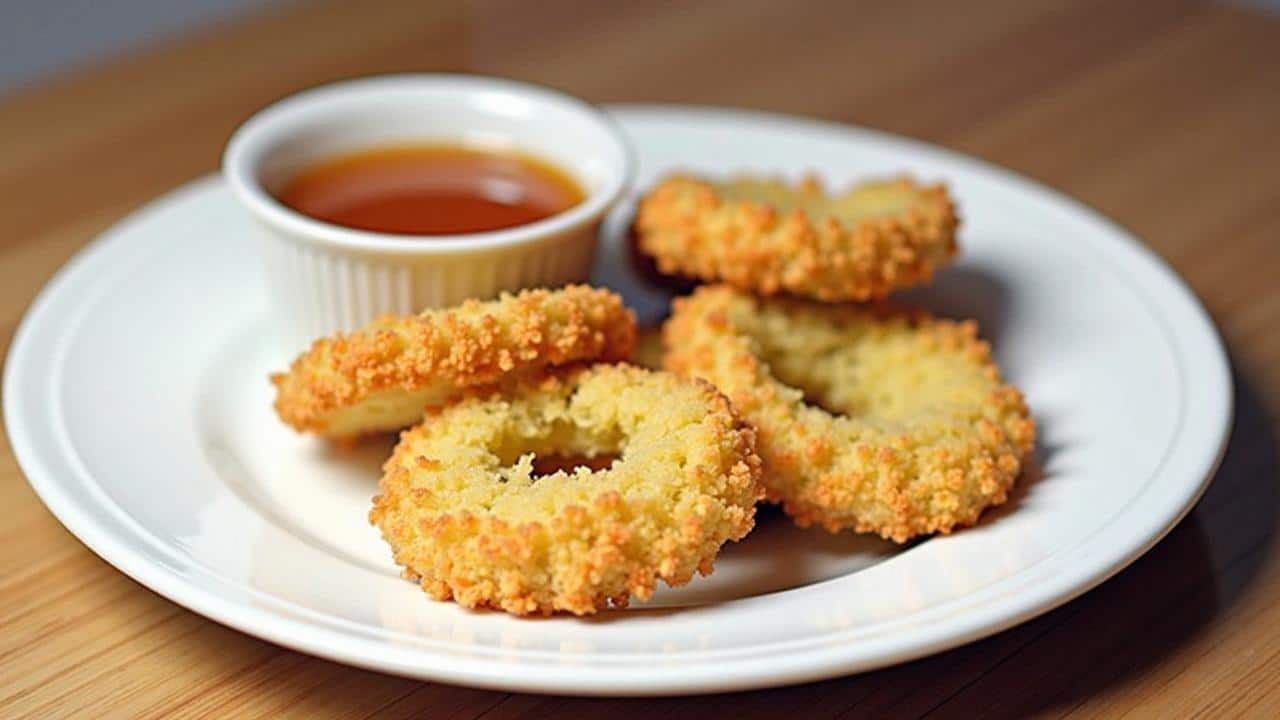
This technique works for everything from fried chicken and fish to vegetables and even delicate items like zucchini blossoms.
Step-by-Step Guide to Professional Drying Techniques
Chef Chozas recommends a systematic approach that takes just minutes but delivers restaurant-quality results every time.
Essential Drying Methods:
- Pat dry with paper towels, pressing firmly to absorb surface moisture
- Salt the food 15-30 minutes before cooking to draw out internal moisture
- Air dry on wire racks for 10-15 minutes after patting
- Use cornstarch or flour dusting as a final moisture barrier
- Ensure oil temperature stays between 350-375°F for optimal results
The timing varies depending on what you’re preparing. Chicken pieces need the full treatment, while smaller items like shrimp require less intensive drying.
| Food Type | Drying Time | Special Notes |
|---|---|---|
| Chicken pieces | 30 minutes | Salt and air dry on racks |
| Fish fillets | 15 minutes | Pat dry, light flour dusting |
| Vegetables | 10 minutes | Remove excess water, salt if needed |
| Shrimp | 5 minutes | Quick pat dry sufficient |
When you see professional kitchens, everything is prepped and dried hours in advance. Home cooks rush this step and wonder why their results don’t match.
— Marcus Williams, Culinary Institute Instructor
Why This Changes Everything for Home Cooking
The moisture control technique transforms more than just texture—it affects flavor, appearance, and even food safety. Properly dried and battered food cooks more evenly, requires less oil, and stays crispy longer.
For busy families, this means fried foods that taste just as good reheated the next day. Parents can prep ingredients in advance, making weeknight dinners more manageable without sacrificing quality.
Restaurant owners have known this secret for decades, but home cooking education rarely emphasizes the importance of moisture removal. This knowledge gap explains why so many home cooks struggle with fried foods despite following recipes exactly.
I’ve been teaching cooking for twenty years, and this is the number one thing that separates good home cooks from great ones. It’s not talent—it’s technique.
— Sarah Chen, Culinary Arts Professor
The economic impact is significant too. When home-fried foods turn out perfectly, families save money by eating out less frequently. A successful batch of homemade fried chicken costs a fraction of restaurant prices while delivering superior taste.
Food waste also decreases dramatically when fried foods turn out right the first time. No more throwing away soggy failures or ordering expensive takeout as a backup plan.
Professional Tips That Make the Difference
Beyond basic drying, Chef Chozas shares additional techniques that elevate home cooking to professional standards. These methods work together to create the perfect crispy coating every time.
Temperature control becomes easier when food is properly dried. Wet surfaces cause oil temperature to fluctuate wildly, leading to uneven cooking and greasy results. Dry food maintains stable oil temperature for consistent browning.
The batter itself performs better on dried surfaces. Ingredients like buttermilk, eggs, and seasonings penetrate more effectively, creating deeper flavor and stronger adhesion.
Once you start drying your food properly, you’ll never go back. The difference is immediately obvious—better color, better crunch, better taste.
— Roberto Martinez, Executive Chef
Many professional kitchens use specialized equipment like heat lamps and dehydrators, but home cooks achieve excellent results with basic tools. Paper towels, wire racks, and a little patience produce nearly identical outcomes.
The technique also works for other cooking methods beyond frying. Dried surfaces improve results for roasting, grilling, and even sautéing by promoting better browning reactions.
FAQs
How long should I dry food before battering?
Most foods need 10-30 minutes of drying time, with larger pieces requiring longer preparation.
Can I over-dry food before frying?
It’s nearly impossible to over-dry for frying purposes—drier surfaces always perform better than wet ones.
Does this work for frozen foods too?
Yes, but thaw completely first and allow extra drying time to remove ice crystal moisture.
What if I don’t have wire racks for air drying?
Paper towels work fine—just flip the food halfway through the drying process for even results.
Will salting make my food too salty?
Use light amounts and brush off excess salt before battering—the goal is moisture removal, not heavy seasoning.
Can this technique save soggy leftovers?
Not really—proper drying must happen before the initial cooking for maximum effectiveness.